Monday, April 27, 2009

Coffee Quotes


Here are a couple of fun quotes that can go on the solid coffee card in previous post. I've tried to make them easier to weed...have fun! Will add more....svg files here.

Saturday, April 25, 2009

Coffee Cup Card


The coffee cup cards utilize both the positive and negative elements of the design giving very different cards. The pieces of the design can be tedious but utilizing a great hint I learned has certainly helped. As the pictures below show, I use drywall mesh to hold the elements together so I can move them as a unit. You will need to gently loosen them from the cricut mat as you transfer the image.


There can be a few different ways to approach making the card so I thought it would be helpful to put everything together in one file and let you decide how you might want to approach the card design. The top card with the design in place makes the card delicate and requires extra care when creasing it...the elements to the right allow an overlay of steam and a decorative paper could be cut from the solid cup and saucer which would go under the deco cup outline.
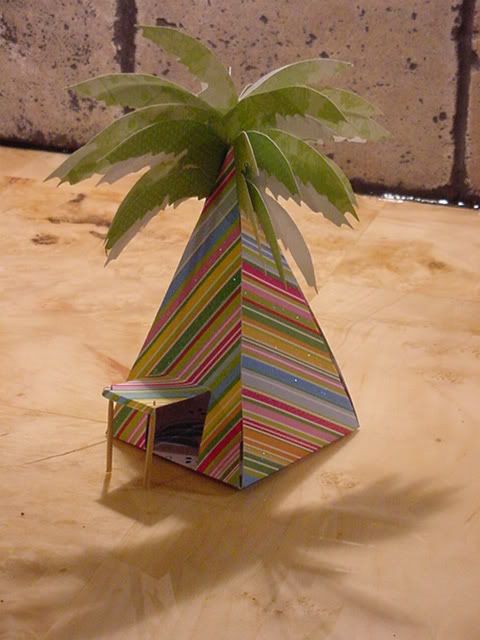
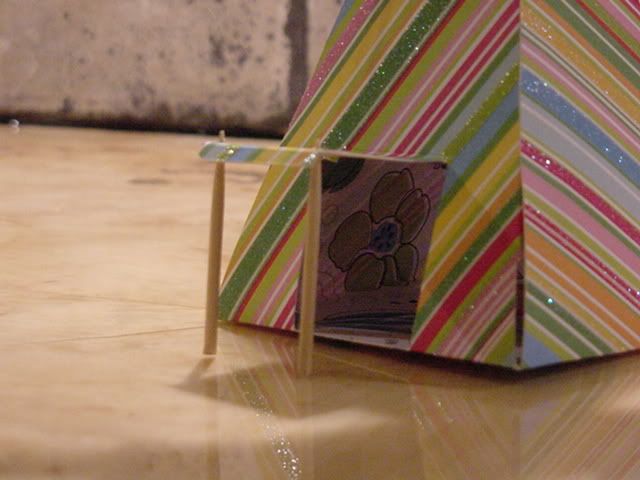
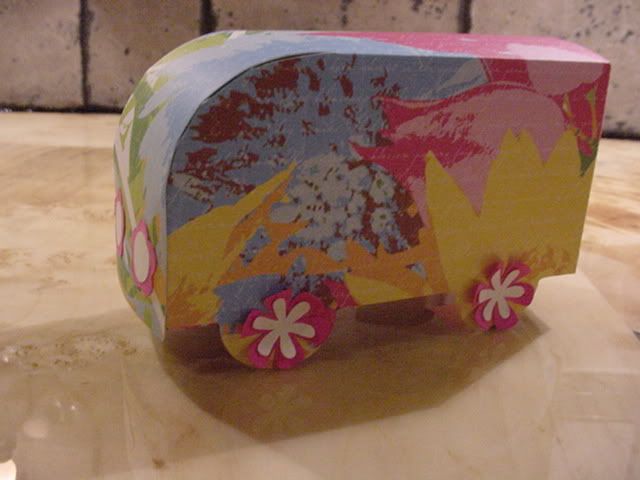
File here


The solid design below can be used for the inside lining of the card or by itself as the card with the design to the right of it overlaying the front of the card. Additionally, you can use the shadow, blackout (shown below) or shadow blackout (I like the "1" setting) to give a more solid joint to the card.


The two lower designs are available in my More SCAL .svg files link...I will update here when the other file with all the elements is posted. Bottoms Up!

Sunday, April 19, 2009

A Little Cabana

I guess I need a vacation...or at least a two-day trip somewhere, soon! Well, more snooping at Denise's Scrapbooking Room (the closest thing to a vacation, for now!) I snagged the palm tree and chair design.

Now having done various origami projects over the years, I know some designs have stability issues and one must find creative solutions, so my palm tree must be stabilized in some decorative bling bling.
Photobucket

So, Denise's palm tree design has a pyramid-shaped base which certainly helps the stability but it also sparked a creative nudge...I decided it should be a cabana.

So, here's my version of the palm tree, cabana style!

Photobucket Photobucket
I put a couple of toothpicks to good use, too!

Another purse and shoe - Denise-style!

Okay, I confess...I've been spending too much time at Denise's Scrapbooking Room and was among the many eager for her designs to become available! So I wasted no time once I got them and have made several items.
If you've seen my earlier posts you know I have loved some purse and shoe ensembles so I was eager to do a version of her set, too!

Photobucket


I opted not to crease the front of the shoe preferring a softer shape and added a little band to match the flower on top.

Photobucket

I also chose to do an big offset flower on the bag, creating additional petals from her design and added a matching band and snipped off the tab that is in the original design so I could use it as an open gift bag. It's a fun change from my favorite cricut bag and I look forward to creating more sets! The shoe is far easier than the beaded version I've done on the earlier posts. Thanks for all your hard work, Denise! I encourage you to check out her page! Aside from designs to purchase she has many free .svgs as well!

Photobucket

Saturday, April 18, 2009

A little gift box...

My husband found this little gem some time ago and started a cut file that I tweaked a little further...it's a small van shape with the opening in the back. This one is 5¼" long x 3¼" tall. it's fun and the potential variety, endless! It's nice, too, because it gives an option for a little boy gift (though I did have to do a girly version, too!) Cut file will be in my scal files link.

Photobucket

Photobucket

The flowers are from Plantin Schoolbook cartridge done in 1" regular flower, used the italic (3/4" white on wheel) and roly poly buttons(3/4" headlight flower)
Photobucket

Photobucket


I've included a picture with the score lines marked. I found it easiest to glue the front first. I recently started using Scotch Scrapbooker's Glue w/2-Way applicator. I bought it at a Scrapbooking store and it works great! I also like the convenience of a pen tip or a pad.
Photobucket

Friday, April 10, 2009

Off the beaten path...a car graphic


We did handpainted signs, logo design and vinyl work for a number of years so I guess it's hard to get it out of my system...and since personalizing vehicles seems to be a popular trend in areas we've lived I thought I'd share this fun template and idea...svg file available here

For those still learning Inkscape, I will try to provide directions on how I did my file...perhaps there are other ways, but this is what I did:

Import 'Cargraphictemplate'
Click on text icon and type 'your name'
(a script seems to work best)
Select 'object to path' in Path menu ,
then move your name over the top
of the template to size it,
then go to the Edit menu select 'duplicate'
to make another copy of your name
and move it off the car graphic template.

Then click on the original name script which is positioned
where I want it on the car graphic template,
selected 'Dynamic offset' in Path menu...
and move the node that will appear until it creates a fairly solid shadow,
hold the shift key to select it and the car graphic,
then in the Path Menu, select 'Union', move the
name script you duplicated back in place,
select the graphic and your name script,
go back to Path menu, select 'Difference'
and then save the image!

Sunday, April 5, 2009

Aperture name cards

PhotobucketI had a recent
request for some name cards done with an aperture. I learned to do it from a video by dan99. His link is the Free Templates link in my sidebar takes you to his site and I've included here a direct link to the video for those that wish to try it themselves (though I'm still happy to take requests!)

The adorable bird is from the Sure Cuts A Lot (SCAL) forum page listed on the sidebar under Helpful Pages. My SCAL .svg files has some bookmarks with the names - Bruce, Chris, Delores, Donna (and a Donna card), Heather, Jim, Laura, Sally, Timothy. I will try to include a bookmark template there, too.

How to make aperture name cards in Inkscape

So, I've added a few names to the list and made a basic template available.
Arturo
Carmen
Ginnie
Maria
Sookie
Zonia

aperturetemplatecard

Aperture Name Cards and template svg files here!

The available files are done in a slightly heavier script than the Carmen card above so they are easier to weed without the letters falling apart...it would be easy to cut a rectangle around the name and put a translucent paper behind and personalize a night light. I did a star template in an earlier post this snowy weekend...guess these late winter storms are good for something!

Have Fun and Happy Crafting!

maria

Saturday, April 4, 2009

Mini Purse

Outside of purse

For that extra special touch...here's an adorable mini purse...it can be used for a variety of things...this one has a couple of tea bags in it but it could easily accommodate a gift card or certificate or a small tissue wrapped gift could be tucked in...the .svg file is in "More of my scal images" link.

o-inside of purse

Now, for details on size and construction. The finished height is just over 3½" high not including the beaded handle. The cut size of this one is 9" x 4.255". I scored it at the widest point for the first fold and once it's folded up you have a guide for the next fold and I measure about a 1/4" up for another fold line so I have a small ridge where I attach the beaded handle.

o-firstfold

I cut a piece of wire at least 4" long and string about 2" of beads. I poke a small hole about 3/4" in from either side for the hand and then on the inside I add an extra bead and turn the wire with my round nose pliers 2or 3 time and bend slightly to flatten. I cut off the extra after pulling the second side through. If handle seems loose you may need to bend the wire a little more from the inside area and/or put a little white glue to secure. I used two small pieces of the thicker magnetic sheeting as a clasp though I have used a velcro circle cut in half as well. For the inside, I cut a 3/4" strip of matching paper and glue in so it could hold the tea bags and print a message in Print Shop. On the outside is a white button I cut the shank off, sanded it smooth and glued.

Have fun...

Did a ton of these for a Spa Day a few years ago. I put a small bag with a Tablespoon of Foot Therapy...long before Cricut and SCAL so cut all by hand out of wallpaper samples! The inside design was much more involved than the one presented here...

Photobucket

Personalized Night Light


For those who light up your life...a special way to light up theirs! I thought of this especially for children or grandchildren...many night lights have a flat surface so I thought it would be easy to personalize...of course, it could be any favorite theme or design, too, but I chose to do a name with a star template surrounding it. After cutting it in black I used a translucent light blue paper.
starnitelite 
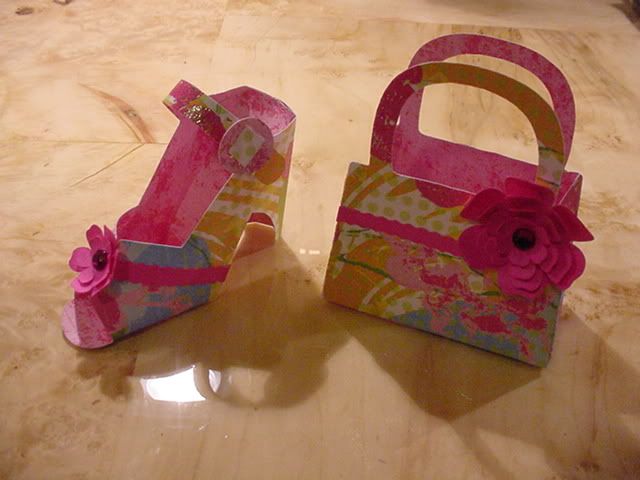
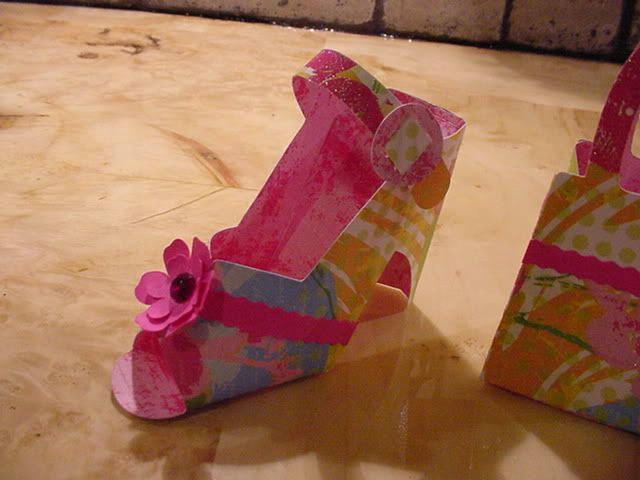
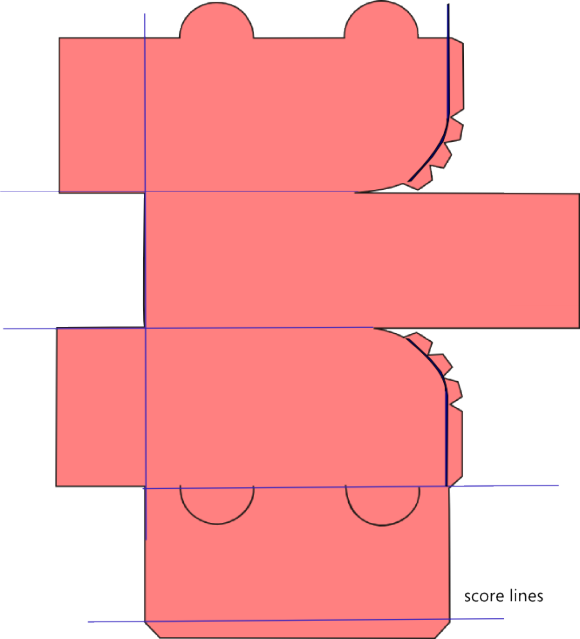
Designed in Inkscape,
this basic design could be taken in and a name added. You may also do this right in SCAL. The lower image is the name typed in right in SCAL. I moved the S closer and then selected weld in the properties box and then overlayed the star template and selected weld again. Preview to make sure it is welding properly. The disadvantage to this approach is resizing isn't as easy. I also like creating additional connectors for the letters that might not normally weld together, so in this case, I created a connect between the 'S' and the 'a' in the top one. The size is about 3"x3½" but I think it could easily be larger. I didn't want to cover the sensor but 4" would work well.

This could be an easy design for a lamp, too, besides name tags or cards. The star template will be added to my "More of my Scal images" file in the sidebar.
starscrnshot