Many of us like the welded letters and framing around words and sayings and I've been asked how to accomplish this using Inkscape. So I'll try to explain the steps I use to do this.
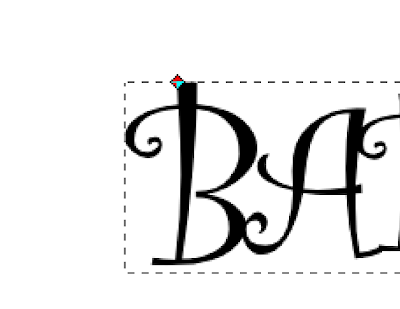
For this tutorial I'll use the phrase Baby Shower.
After selecting the font you want (this one is Curlz MT)
Path > Object to Path
Object >Ungroup

Use the Arrow Keys to connect letters
Path > Object to Path
Object >Ungroup

Use the Arrow Keys to connect letters
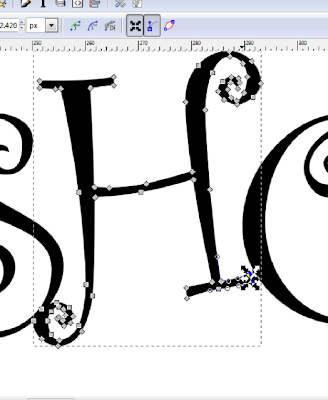
In my final version. I enlarged the first letter of each word. (I use the ctrl button to maintain proportion.) I also lengthened the lower serif on the H so it wouldn't be too close to the O.
I used the Edit path by node tool to select the two nodes on the lower serif of the H to extend it and create addtional space between letters

When satisfied with your tweaks, select all the letters
Path > Union
Path > Outset
 As you can see, using Outset was too much weight so
Edit > Undo
Zoom in
Path > Dynamic Offset
Using dynamic offset gives one node that can be used to add weight in a more controlled fashion but I usually zoom in to see it better.

Move node by small increments until you're happy with the letters
(save your file)
Path > Object to Path
Now we want to create the frame so
Edit > Duplicate
Change color of duplicate and move.
Select your original image
Path > Dynamic Offset
You can also use Outset and keep selecting it until it has enough weight. I move the duplicate up to see if I like the size of the border.
Once I'm happy with it then
Path > Object to Path

If you feel ambitious and want an additional layer duplicate the lettering

Path > Outset
Path > Object to Path
Hope this helps those new to Inkscape to create their own special headlines!
By the way this file is here, seventh post!

Nice toot Laura....er...ummm....TUT, HAHA
ReplyDeleteVery well done. beginners should be able to get it pretty well if not overwhelmed like I get.(LOL)
Thanks for this tutorial! I've always wondered how to do this! Now I plan to print out your instructions and give it a try!!!
ReplyDelete