
Monday, March 1, 2010


Monday, February 22, 2010
State your case!
I started playing with some ideas to play with state identifications whether for a scrapbooking page or to show where your from or where you've been! Doing an internet search for "US states svg" gave me a state map that I could take into Inkscape and ungroup and pull the state I wanted which was Nebraska. There are also county maps that give you the option to pull out your county. I found mine by searching for "Nebraska box butte county svg"


I'll include this file with the nebraska state file for those that like this script -
File Here!


Another idea is to use parts of maps to customize your state silhouette or highlight where your from or an area you traveled to in that sate.


I'll include this file with the nebraska state file for those that like this script -
File Here!

Another idea is to use parts of maps to customize your state silhouette or highlight where your from or an area you traveled to in that sate.
Tuesday, February 9, 2010
Creating a Monogram
I found this beautiful font called monogram kk via a craft edge forum post (thanks, Kay!) and played with some color combos in Inkscape (still using .46) Using the inset and outset features in the Path menu makes it easy to create the shadows. I may set up a file for cutting but I think they would be beautiful for print projects like stationary, envelopes or seals for envelopes.


Another idea for creating a monogram for a couple...

This simple border available here. (It's about the tenth post.)


Another idea for creating a monogram for a couple...
This simple border available here. (It's about the tenth post.)
Sunday, February 7, 2010
Helloooo Baby!
This cheesy rhino was in some old sign files I'm going through so I thought I'd convert him for a scal cutout and png files....link here about the fifth post.

Monday, January 25, 2010


Thursday, January 21, 2010
Once upon a time...
Over on the Craft Edge forum is a prolific designer named Paulo. I have downloaded many of his beautiful and intricate files. This is my current favorite and I finally had an opportunity to cut it. When I first saw it I could immediately see it in 3d and when I showed it to my husband he was amazed and was anxious for me to cut the file to see it, so here it is and here is the link to Paulo's blog post if you would like to download his gorgeous file!
Gracias, Paulo!
Paulo's Blog link!
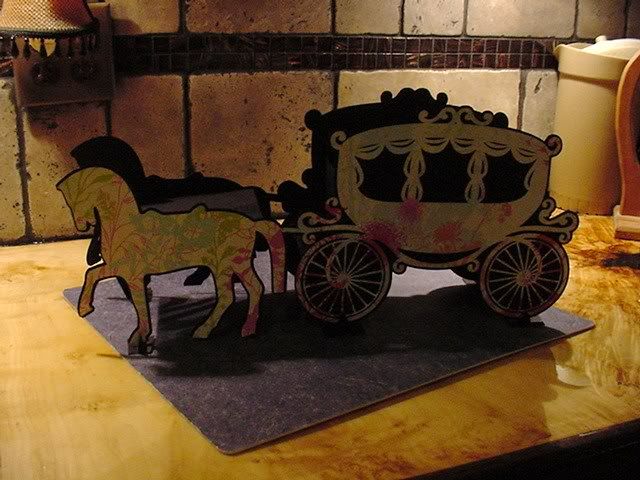
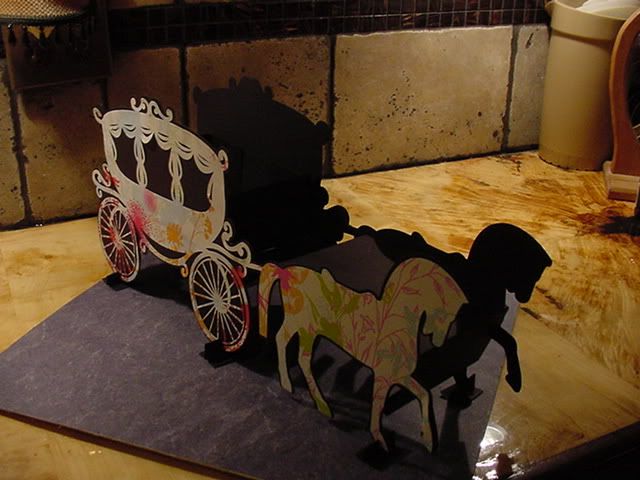
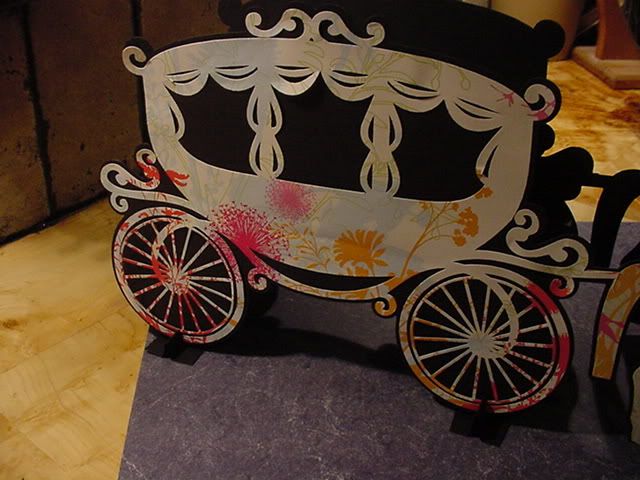
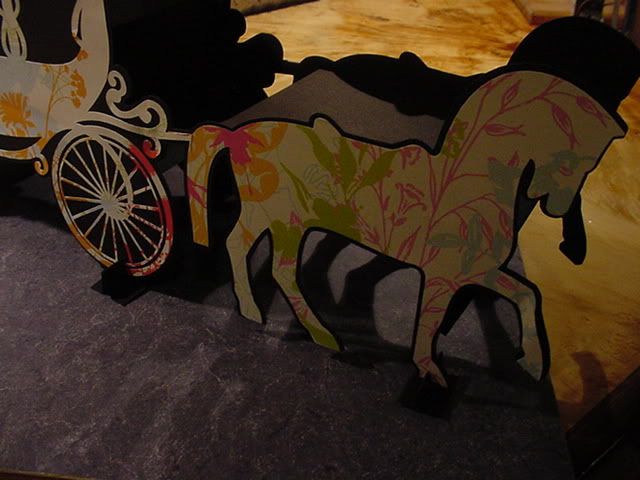
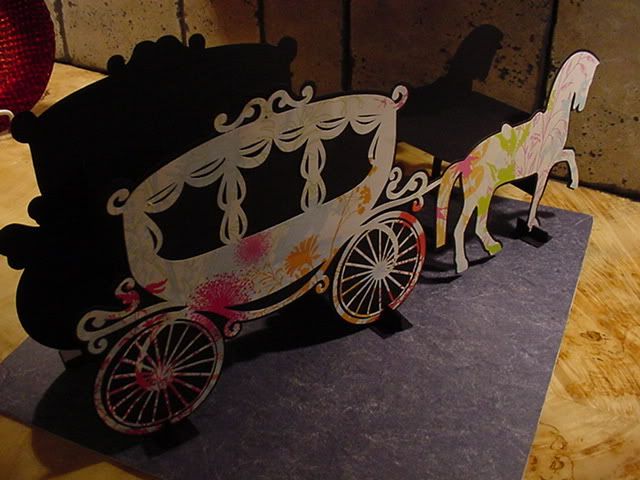
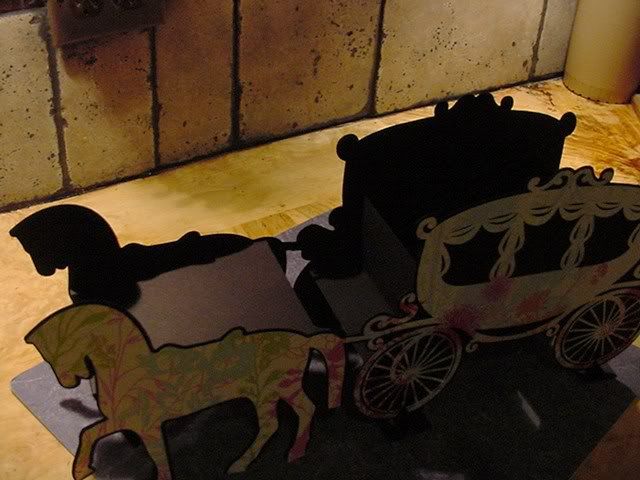
The overall dimension of this is 8" x 18". After cutting the first side I flipped the shape in scal and cut the second side. I used Paulo's top design and then just used shadow blackout set at 2 for the black outline.
Several have asked how I made it 3d...and it's a very simple process I used. I made a basic box shape to attach each carriage to. The width is about 4" and sides about 2" high so in the pic below the dark center is the base and the line are the cuts I made and then I just folded all four sides up and glued it together by the tabs created by the cuts and then glued it to each carriage above the wheels.

I added tabs a little lower on the wheel to stabilize it (and slightly crooked) and tabs between the horses. They were 4" in width with about an inch fold over on each side to glue down.

Then I cut a longer 4"x6" piece of black paper that rests over the top tabs to hide them and bent down in the front. It looked nicer than having the tabs show.


I created these simple tabs with a slit to help stabilize the unit. If I did it again, I think I would cut another black silhouette to double the strength. I plan to mount it to a piece of foam core board and glue the tabs down to help stabilize it. I think I may use some modgepodge on it to give it a little more strength, too.


I hope this gives those interested in making this 3d a good idea how to go about it...you could do this with a number of different images.
Thanks for visiting my blog and sharing the fun! Hope it inspires you!
Laura
Gracias, Paulo!
Paulo's Blog link!
The overall dimension of this is 8" x 18". After cutting the first side I flipped the shape in scal and cut the second side. I used Paulo's top design and then just used shadow blackout set at 2 for the black outline.
Several have asked how I made it 3d...and it's a very simple process I used. I made a basic box shape to attach each carriage to. The width is about 4" and sides about 2" high so in the pic below the dark center is the base and the line are the cuts I made and then I just folded all four sides up and glued it together by the tabs created by the cuts and then glued it to each carriage above the wheels.


I added tabs a little lower on the wheel to stabilize it (and slightly crooked) and tabs between the horses. They were 4" in width with about an inch fold over on each side to glue down.

Then I cut a longer 4"x6" piece of black paper that rests over the top tabs to hide them and bent down in the front. It looked nicer than having the tabs show.


I created these simple tabs with a slit to help stabilize the unit. If I did it again, I think I would cut another black silhouette to double the strength. I plan to mount it to a piece of foam core board and glue the tabs down to help stabilize it. I think I may use some modgepodge on it to give it a little more strength, too.


I hope this gives those interested in making this 3d a good idea how to go about it...you could do this with a number of different images.
Thanks for visiting my blog and sharing the fun! Hope it inspires you!
Laura
Monday, January 11, 2010
Leave only footprints...
Playing in Inkscape again... I used an image from the scal forum of a pair of sandals.
Files here - svg and png


Subscribe to:
Posts (Atom)